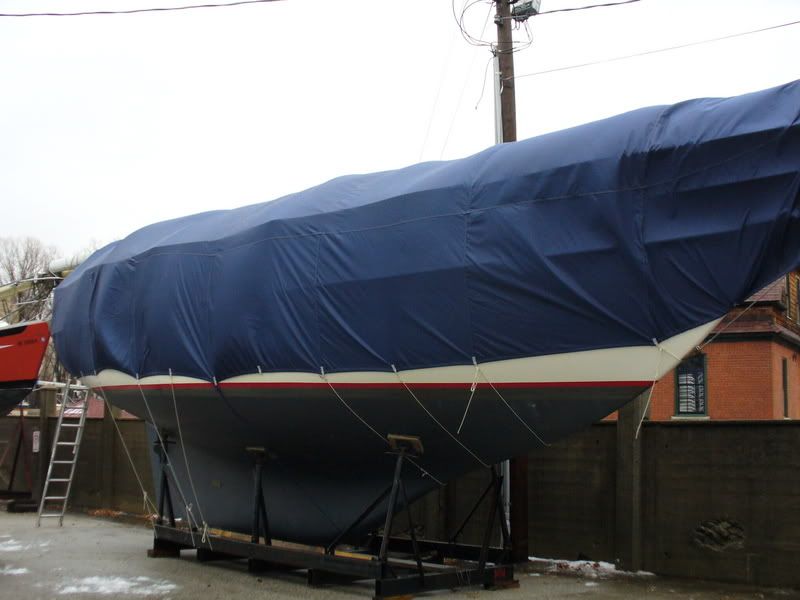
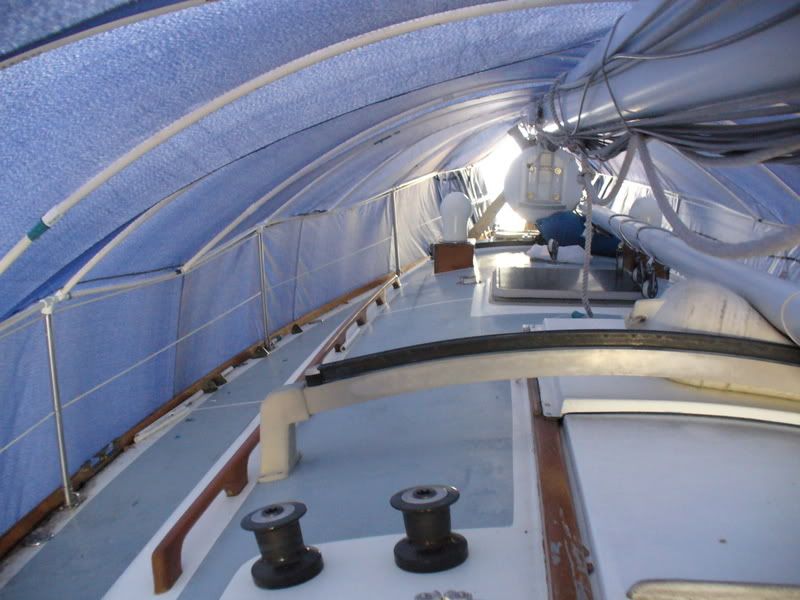
I used 7 oz. Surlast fabric (60" wide) that I purchased from Sailrite at 11.95/yd. The project required 55 yards of fabric and over 1000 yards of V-92 thread. I used my LSZ-1 purchased specifically for the project - and other future projects. The machine worked marvelously. Construction was based on my own plans drawn from Ariel's measurements. Although I tried to be as scientific as I could, there was a certain amount of guesswork and cross your fingers and hope for the best involved. Most of my reading on canvas work and sailmaking suggests that there is almost always tweaking to be done. That has proven to be true. I'll need to construct bow and stern enclosures when I get a break in the weather here and can pull the cover off for a few hours of sewing without threat of snow or rain - right now we're under a storm warning.
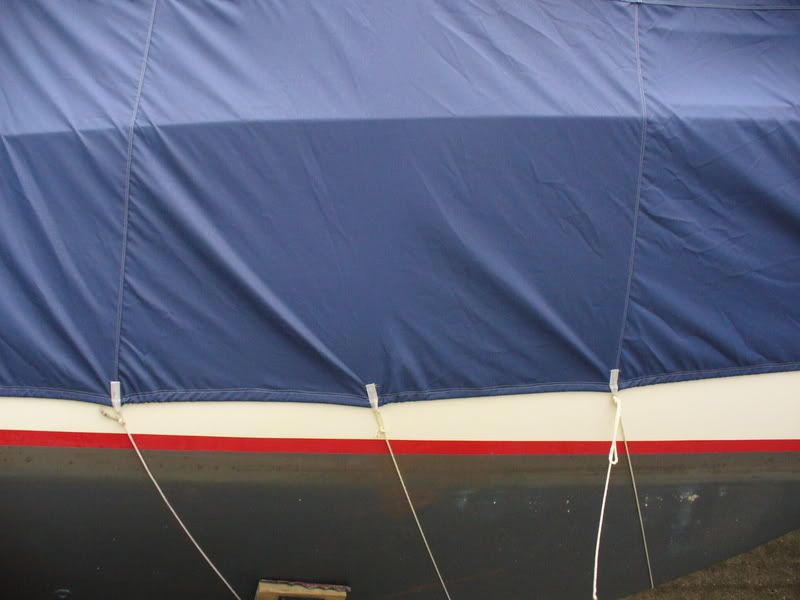
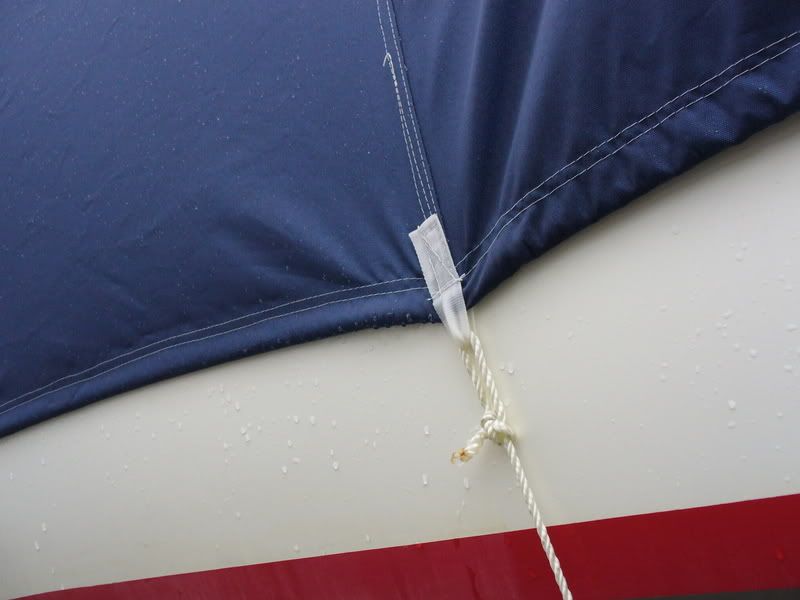
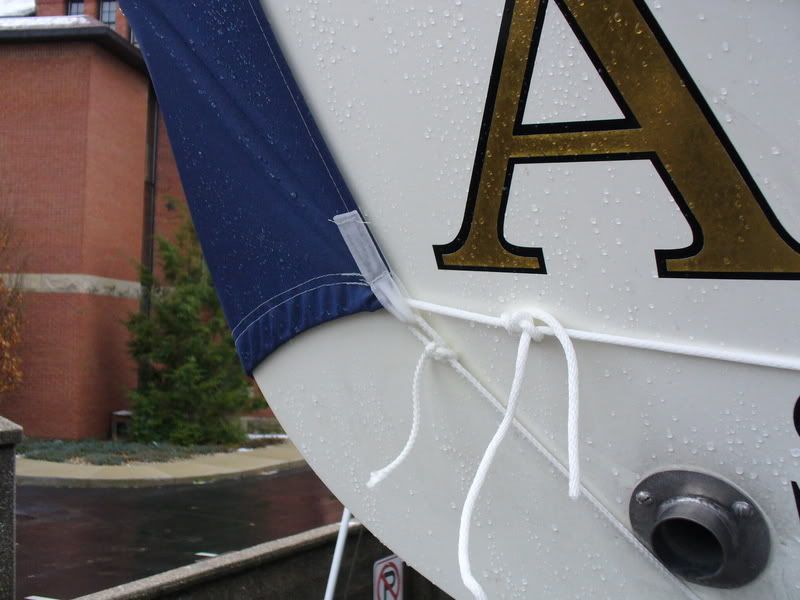
I sewed on nylon webbing tiedowns at every panel seam and in between where I thought I'd need ties closer together. I also added a hem along the bottom of the cover to incorporate a drawstring closure that draws the cover tight to the hull contours.
My materials expense, excluding the sewing machine, was $700. Total estimated time - minus cogitation - is hard to figure since I only worked in fits, but I would guess it to be around 20 hours.
Looking back on the project, I thought it was an advantage to use wide material to reduce the amount of sewing but have since reconsidered and think that - despite the extra work - it would be better to have narrower panels that allow seams and tie down points to be closer together and stronger. The ability to secure each tiedown in the thicker and beefier material of a seam is preferable to tiedowns with little reinfocement.
Building the cover using flat-felled seams was a wise choice. It takes more time to build the cover this way - three rows of stitching for each panel - but the resulting seam is stronger and more attractive than simply overlapping panels and leaving fabric edges exposed. Don Casey's book "Canvaswork & Sail Repair" helped me with this decision.
Here are a few photos and a link to more photos showing the flat-felled seam.
Flat-felled seam photos: http://www.ariel-cd36.org/sewingproject ... index.html