The Plastic Classic Forum, your free and in-depth resource for information on re/building classic sailboats. ... Be sure to visit / join our sister site at sailFar.net! ... And don't forget to check out Atom's Virtual Home Port! ...
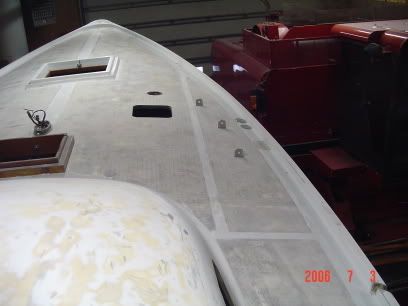
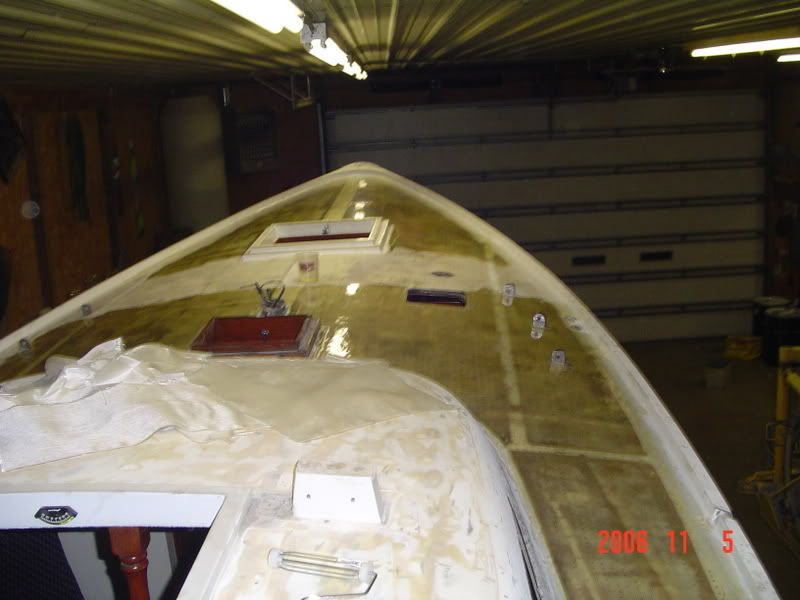
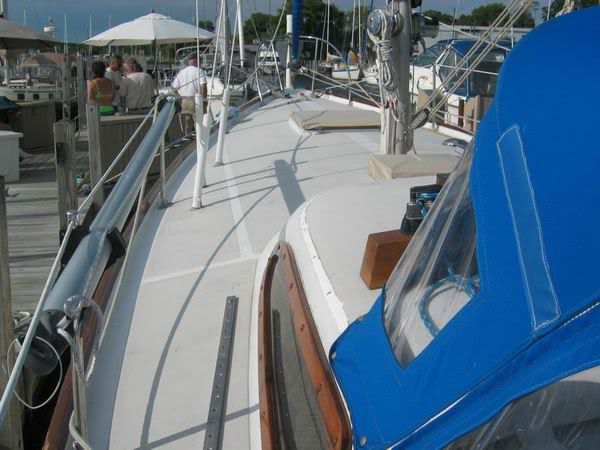
You've definitely got some sanding ahead of you. What are those holes in the deck that have been glassed over? I hope someone didn't do all of those to inject epoxy into the core. It would have been easier to cut the skin off.
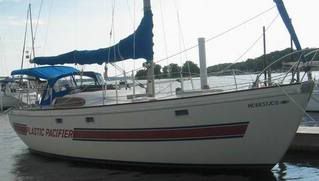
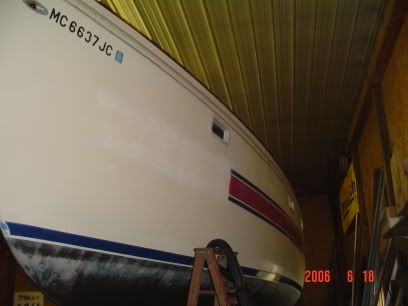
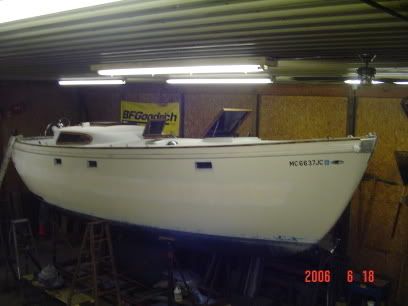
Nice boat, I hope you keep us updated on the progress.
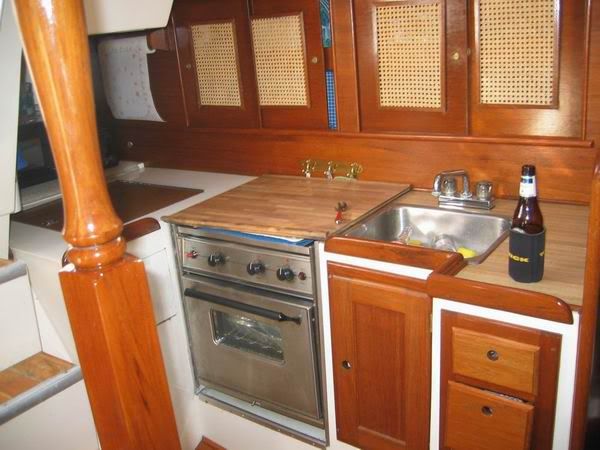
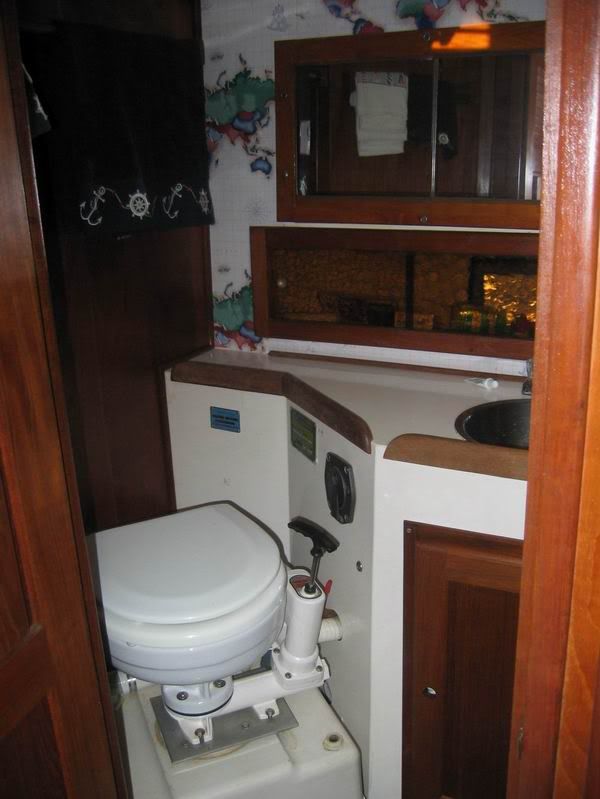
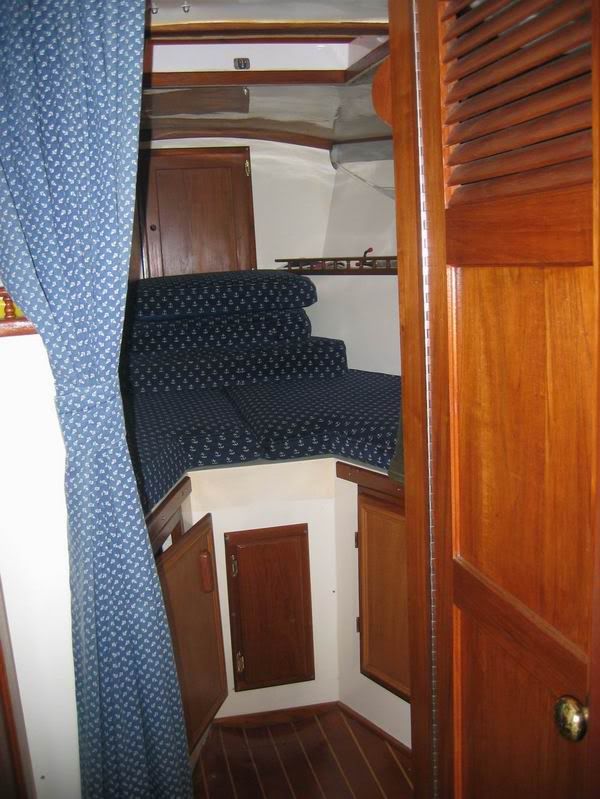
Here are some pictures of the interior its in great shape about 3 years ago the previous owner refinished the whole thing. Most all of the work is topside and deck paint and exterior woodwork. I am looking into HVLP equipment any one interested in renting the equipment out to us?
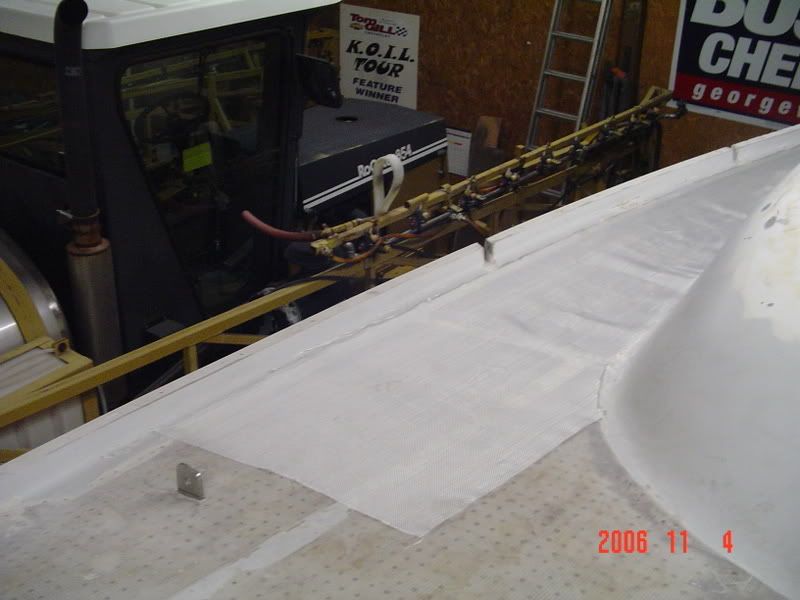
Here are some pictures of my work over the weekdend. We decided to one layer of 10oz. Cloth and West System Resin, to keep the pattern drilling holes done by the previous owner from coming back. Now some more sanding this weekend and another build up coat of resin before paint.
Some pictures of the old gas tank and where we removed it from I am going to make a new stainless steel tank. And a picture of the new Teak cocpit seat hatchs.
What measures are you taking to ensure that you don't glue those chainplates in place? When I was in the final cloth-laying stages of my deck, I used strips of corrugated cardboard in lieu of the chainplates to hold the gap, then chiseled out a pocket for the sealant afterward. It did the job, albeit in a rather hack-ish fashion. It occurred to me afterward that I might have simply wrapped the chainplates themselves in several layers of wax paper.
I did not glass right up to the chain plates, i just left a little gap, once all the painting is done i have some stainless plates that are slotted and go over each one and is sealed and bolted down down so you will never see the actual slot on the deck.
I'm fascinated by the hole drilling on deck. Just can't imagine myself doing it, and then sitting there injecting epoxy in each one. "one....two...eight hundred ninety two, eight hundred ninety three...."
That guy must have really loved drilling. Ah well, at least it's a project you don't have to worry about now.
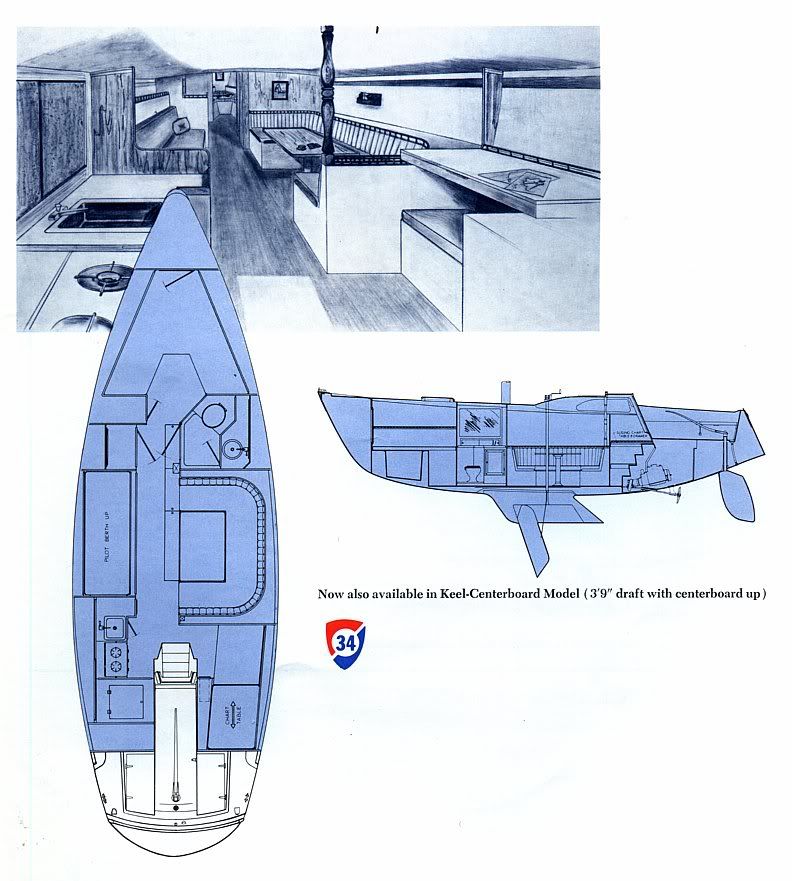
Also gotta love the perspective rendering of the cabin in the 60's advertisement. I wonder how often, back in the day, people plunked down their deposit for first hulls based on drawings like that, thinking "hmm, I know it's impossible, but just maybe it will be roomy enough for a dinner party of 14".
I've never understood why people somehow end up under the impression that widescale hole-drilling is somehow less invasive and easier than just cutting off the top skin and actually recoring the right way--never mind the fact that all it does is fill a rotten deck with epoxy, which is heavy, brittle, and probably doesn't begin to replace all the rotted material in the first place.
Small areas are one thing, but to do even a remotely large area makes no sense at all.
---------------------------------------------------
Forum Founder--No Longer Participating
Yeah I am not sure why he did the hole drilling either. I know that he has mentioned in some of our phone converstaions that since then he has restored 2 other boats and now cuts the top skin off and replaces the core instead, but either way our boat is done with th drilling and there is no going back now.
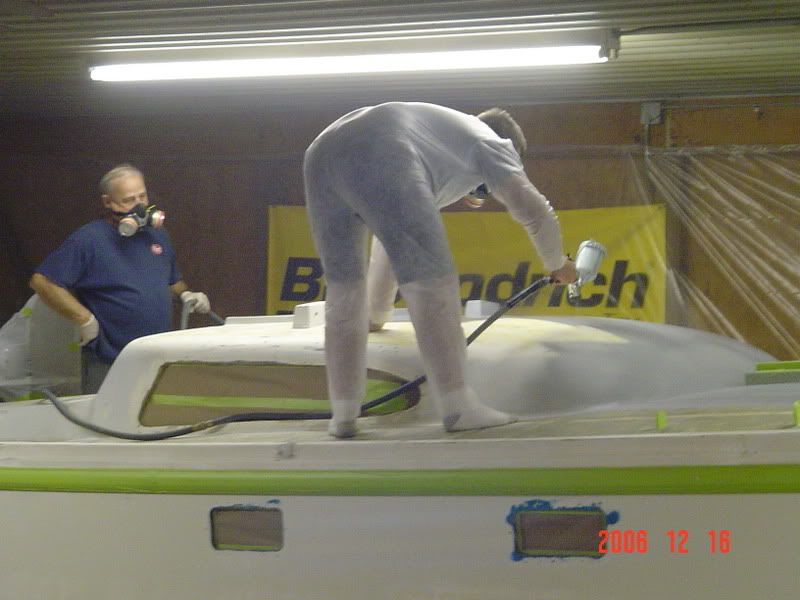
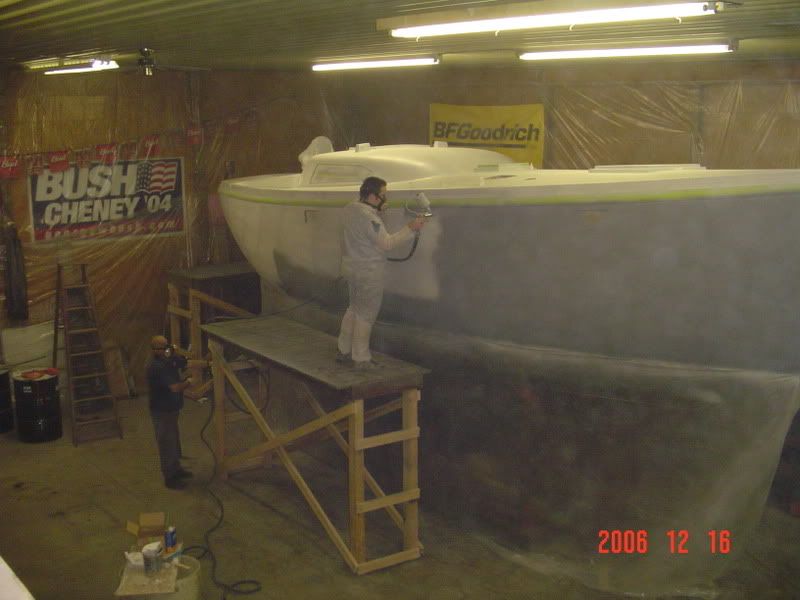
Well we painted the primer over this weekend and it went really well overall only had one run on the port side that will need to be sanded out. First coat on the decks was light gray, 2nd White, then on the topsides first coat light gray, 2nd coat gray. Took about 45min to get all the way around the boat so the timing will be perfect for the topcoats. Here are some pictures.
Prep Work
Deck Gray
Deck White
Top Side Light Gray
Topside Dark Gray
Ready For Topcoat
One question I had a few pin holes show up on the deck from the epoxy and was wondering are there any fillers/bondo out there that can be used after the primer and then directly topcoated over?
We actually looked at a Columbia 50 before I found Kaholee. They have a huge amount of interior room, enough deck space to take up ballroom dancing and very nice lines. I can't wait to see her finished.