The Plastic Classic Forum, your free and in-depth resource for information on re/building classic sailboats. ... Be sure to visit / join our sister site at sailFar.net! ... And don't forget to check out Atom's Virtual Home Port! ...
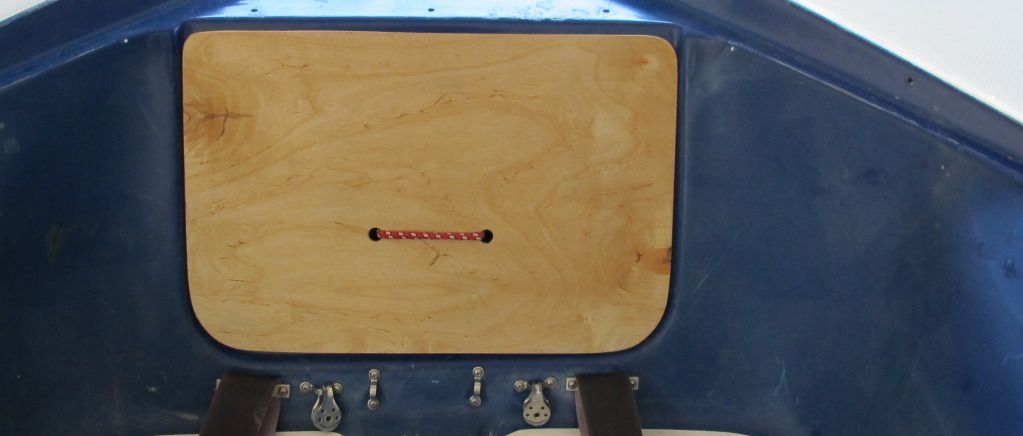
Tonight, I made this hatch from 1/4 inch birch ply. A bungee cord will loop through those holes, and around the forward bulkhead. The original hatch is heavy and complicated, and I'm not in a hurry to see it get scratched. Here, both sides of the birch ply are covered in wet epoxy.
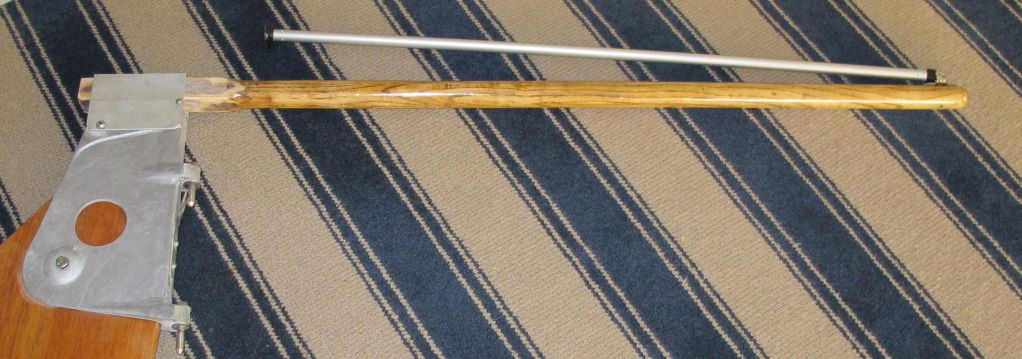
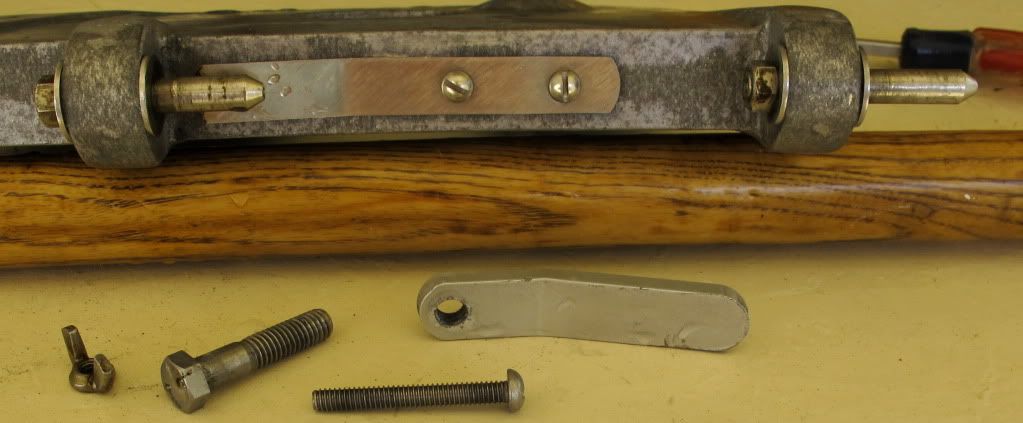
Epoxy was ground away from the square end of the tiller, and once again, it fits into the rudder casting. A new clevis pin from West Marine, and the rudder/tiller is reassembled.
The canvas-hook rivets were drilled away (14 in all,) the holes filled with epoxy and microfibers. The perimeter on this repair looks jagged, because I made the bevel with a large drill bit. What happened is, the bit grabbed into the fiberglass and pulled it apart. I changed to this grinding stone, on a Dremel. It made a clean bevel to hold new epoxy.
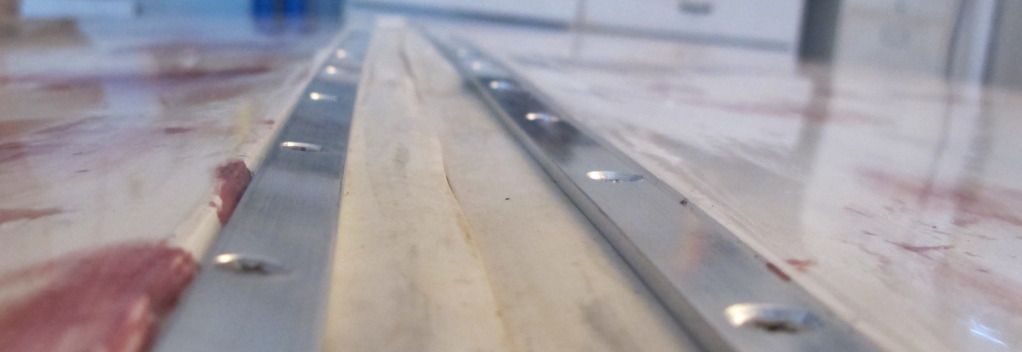
Hiking straps reinstalled.
Last edited by TampaBay on Sun Dec 02, 2012 7:54 pm, edited 3 times in total.
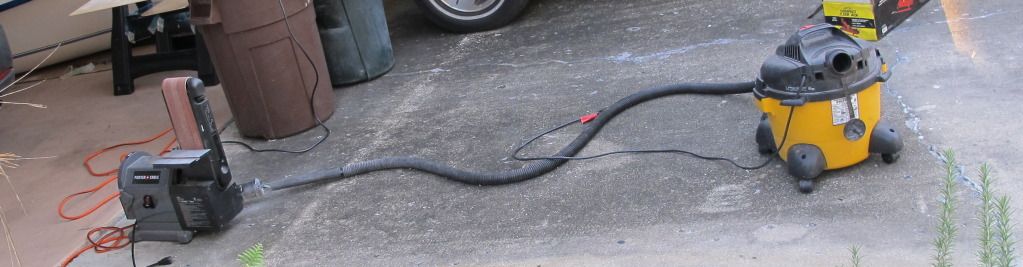
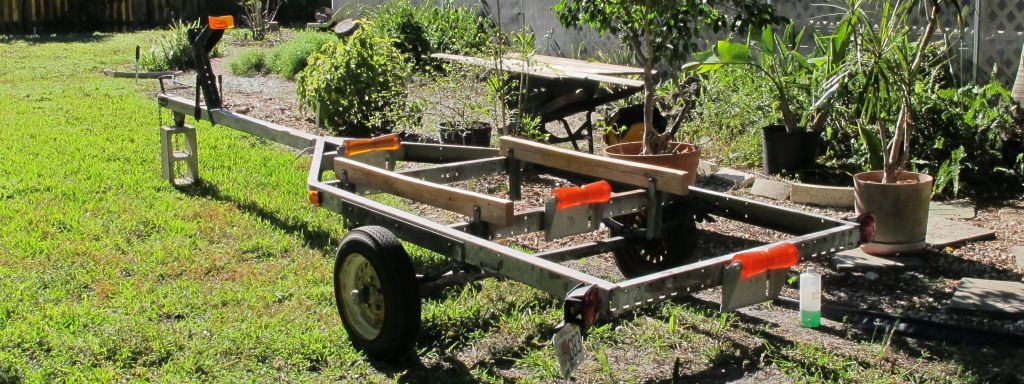
The trailer got a new set of lamps. Everything worked except, when I turned on the headlights, nothing happened trailer side.
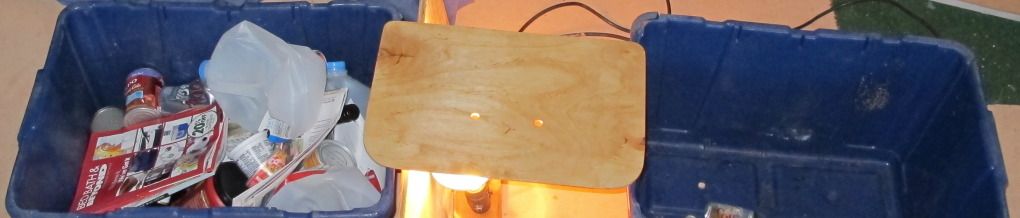
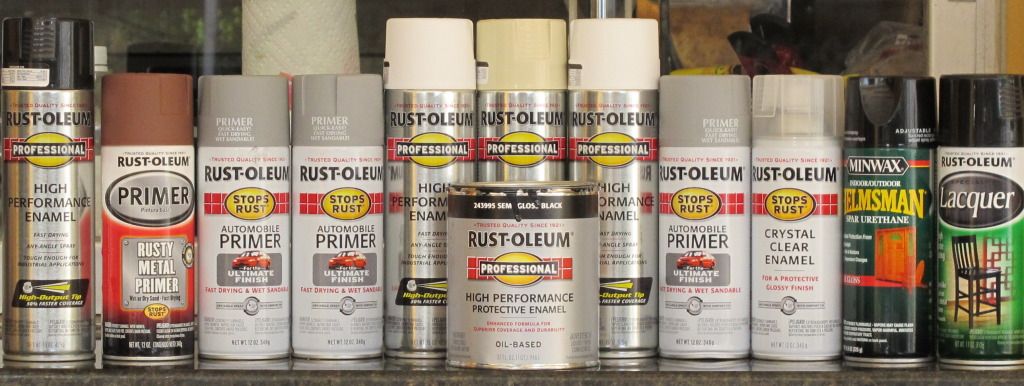
The temp. is now 65, and slow-hardener takes extra time to cure (like all night.) So, after I wet sanded the first coat and laid down a second, I put a 75 watt flood lamp under the project.
The sail was awesome. I promised myself to sail more often than once every two years.
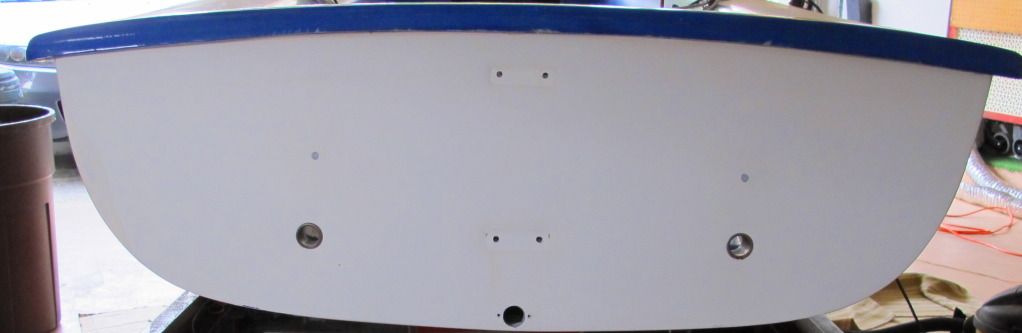
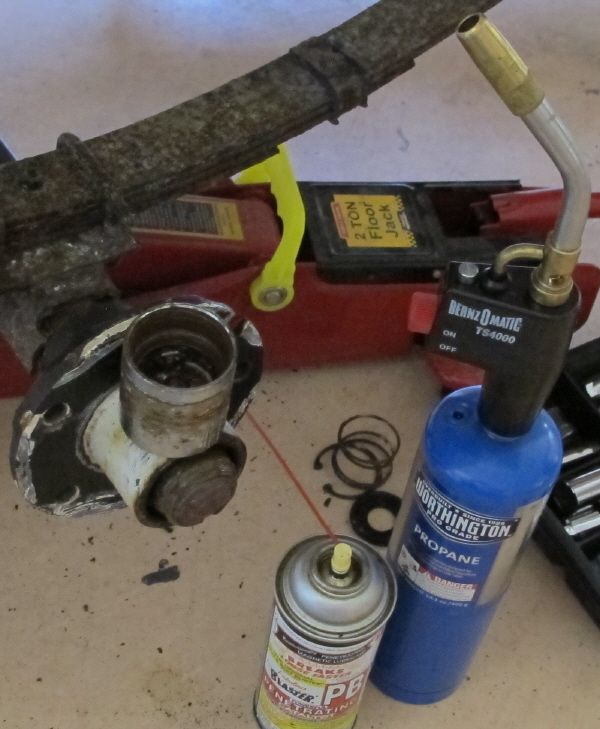
This broke: It pulled straight up and out. Seven 2" screws, fastened into a thin floor. Without going into detail, lets just say, it could have been built better (and now it will be.)
Barney post
Last edited by TampaBay on Sun Apr 05, 2015 1:26 pm, edited 1 time in total.
I snaked a cable through the center (side) holes and grabbed it's end at the hatch. There, I connected the cable into the center-hole of a block of wood (see black dot on the uncut piece,) and then covered the gluing surface with thick epoxy. When the cable was pulled back (it's like ice fishing,) the block lined up nicely.
Drill, fill with epoxy, and clamp in place with screws. There is a long block on each side, and one block center aft. The epoxy cured overnight, this morning I backed the screws out. One more top-off with epoxy, and this will be stronger than original.
Last edited by TampaBay on Fri Dec 14, 2012 7:24 pm, edited 1 time in total.
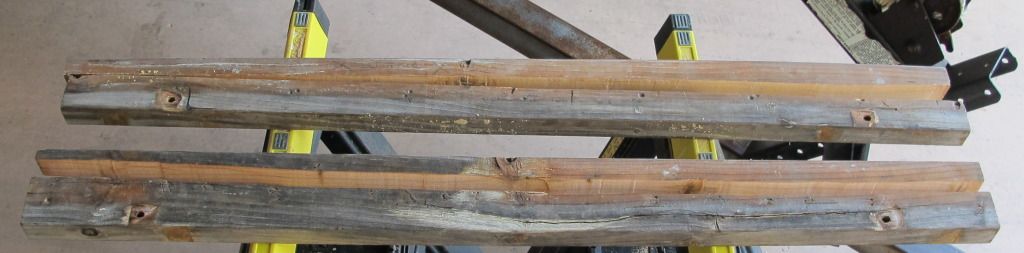
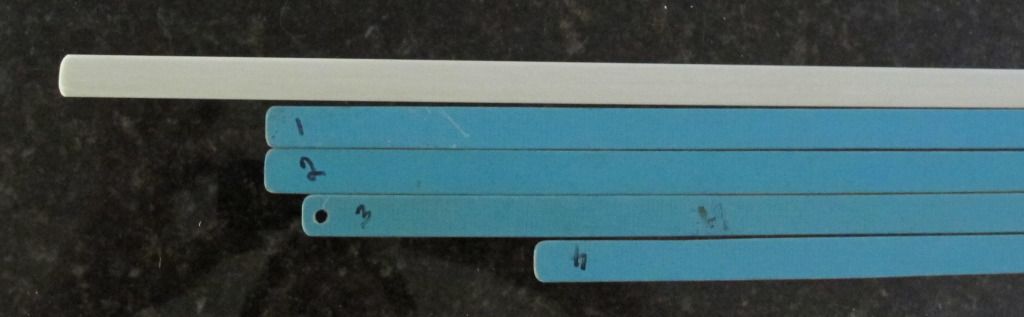
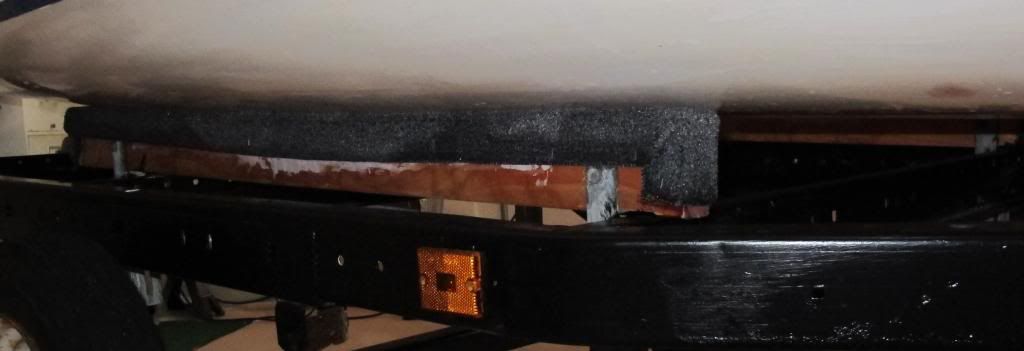
The trailer bunks were straight 4' 2x4's. I wanted a rail that matched the hull's shape, so I tried to shape it with a hand saw. That was fun, but didn't work worth a dam.
Two nice boards into scrap pile.
Last edited by TampaBay on Tue Feb 05, 2013 10:40 am, edited 4 times in total.
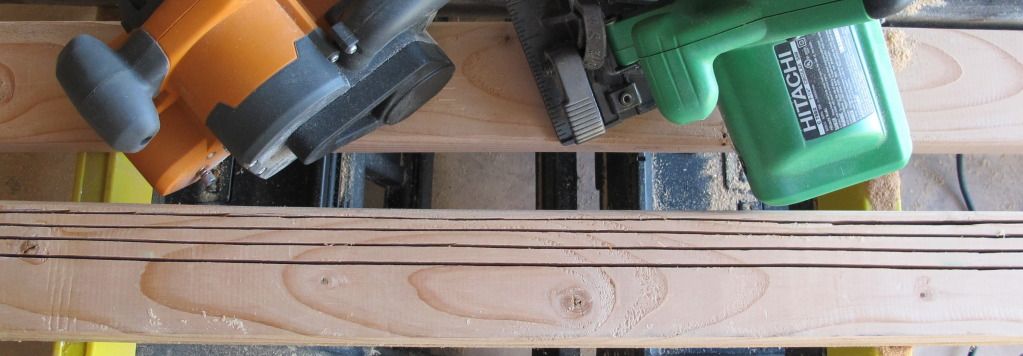
Bought new lumber and cut along it four times with the circular saw; kept the cuts short of the ends. With a belt sander I took off the inside (in relation to boat) top corner (that edge is just below middle of image.)
Last edited by TampaBay on Fri Dec 07, 2012 7:12 pm, edited 3 times in total.
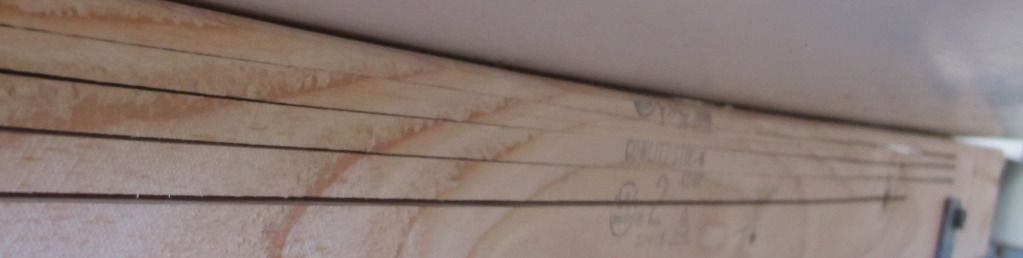
The rail compresses, as the hull's weight distributes over a wider area (this is port side looking aft.) I'll spread glue through the kerfs to hold the board in this position.
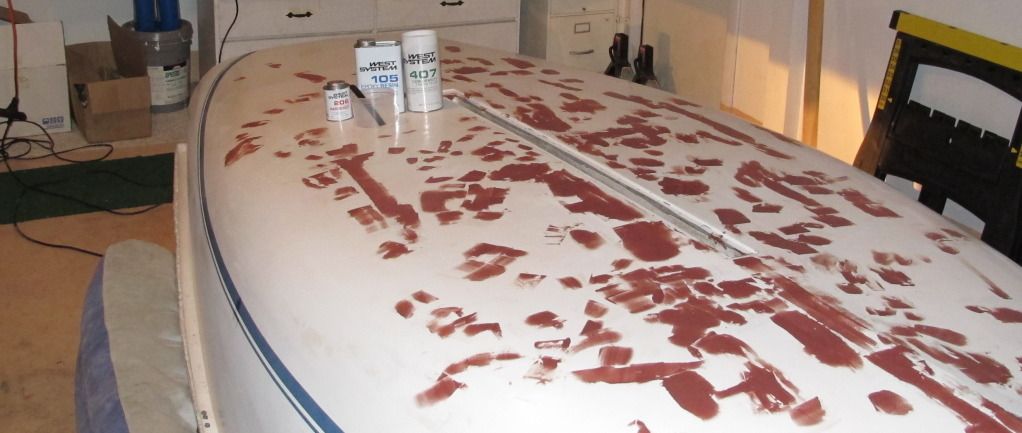
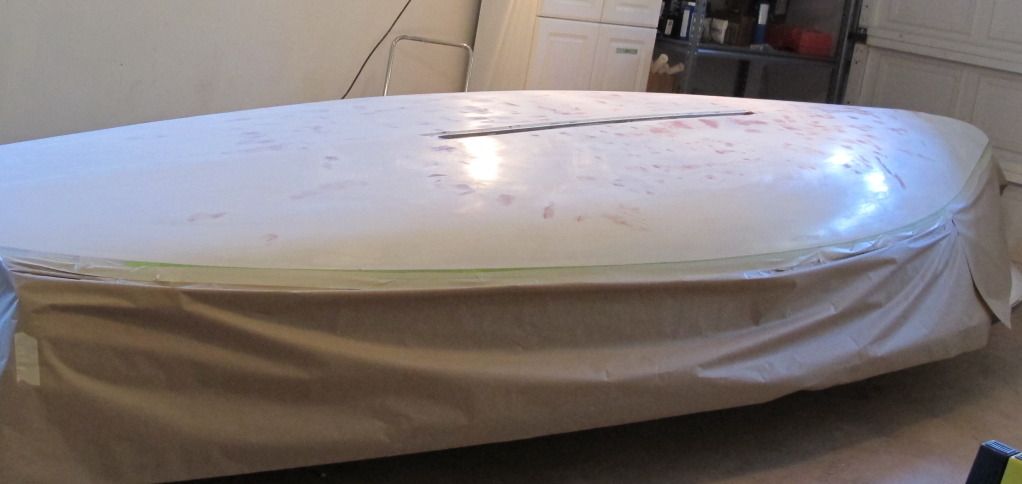
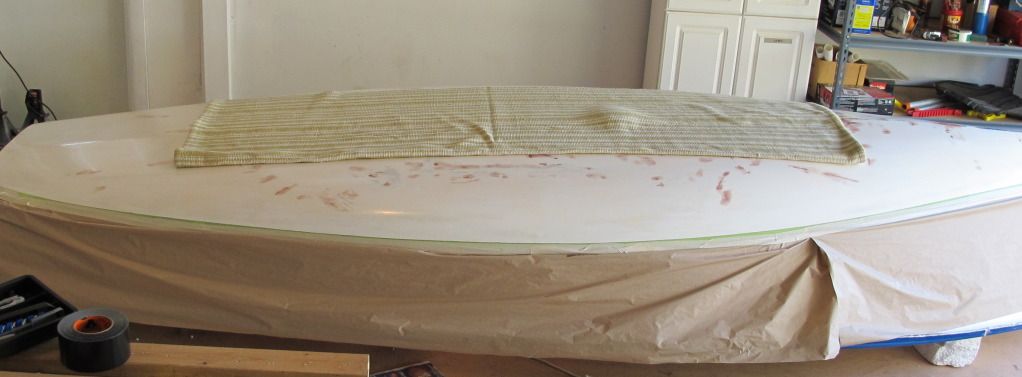
Deck repair: Removing the fore deck, left a long open seam. I removed some core, filled the space with epoxy (and a wooden batten on starboard side,) and held it flat with a pile of landscaping stones.The port side required much less work. Under the deck is a 75 watt heat lamp.
Last edited by TampaBay on Fri Dec 14, 2012 7:26 pm, edited 1 time in total.
I really don't want to, so that project will wait, but eventually yes. I have an L-shaped piece of teak that gives me ideas. I'm wrapping up current projects and, preparing for some sailing over the holidays.
Last edited by TampaBay on Tue Feb 05, 2013 10:49 am, edited 1 time in total.
TampaBay wrote:The rail compresses, as the hull's weight distributes over a wider area (this is port side looking aft.) I'll spread glue through the kerfs to hold the board in this position.
Really interesting idea there - I like it! :) Congrats on the sail! I might have to bust out the wetsuit and the Sunfish soon, just to "get a fix".
Kurt and Barque, the CrewDog. Katie Marie, Ariel #422 Melelani, Islander 36 (shoal)
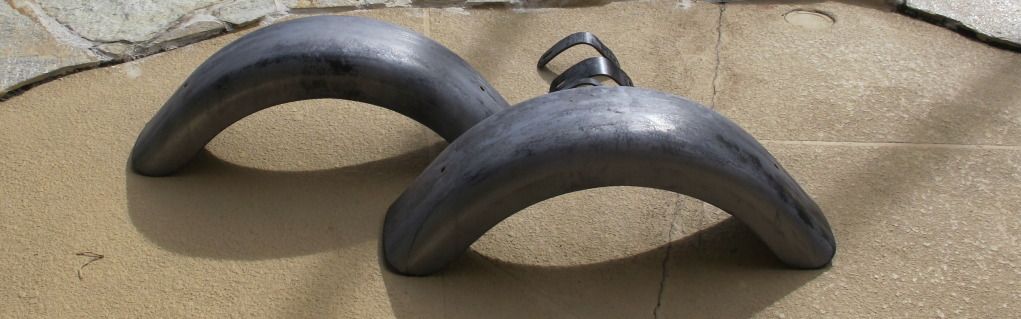
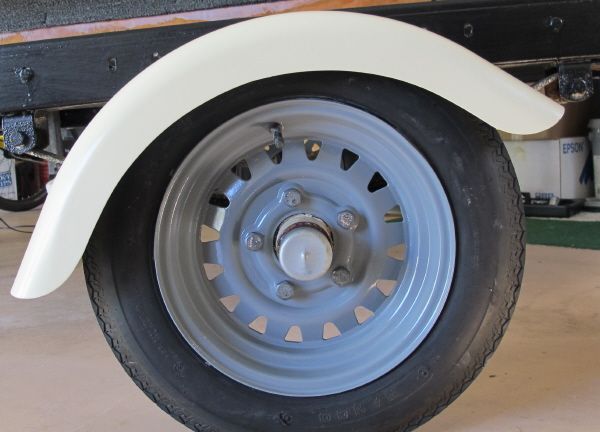
Nice job on those fenders. By the look of them you must have sprayed them. When I rebuilt a trailer for my one designs I glued an old inner tube to the under side of the fenders with contact cement. It kept stones from chipping the paint which leads to rust (especially if you launch in salt water a lot).
It's a good idea. Something has be done on the underside of the fenders.
Once again, I've come to the point were boat and trailer parts are strewn around the house, the yard, and the garage. The plan for today is to get everything back together.
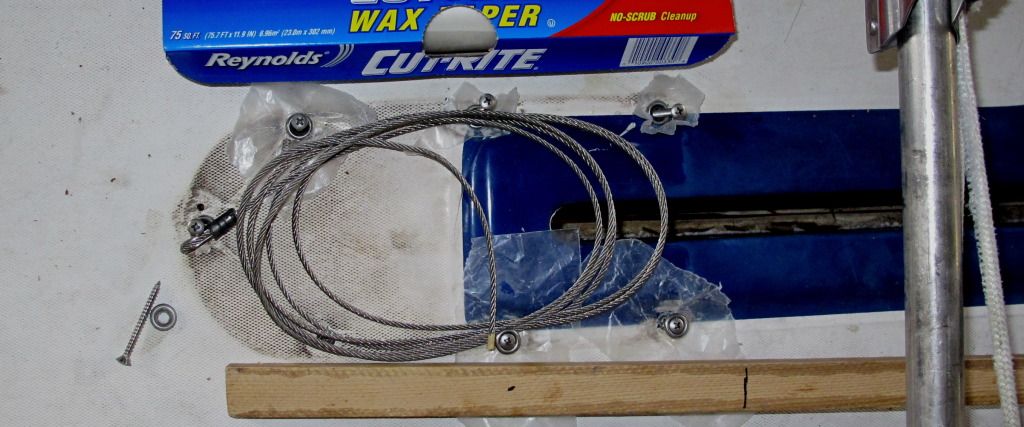
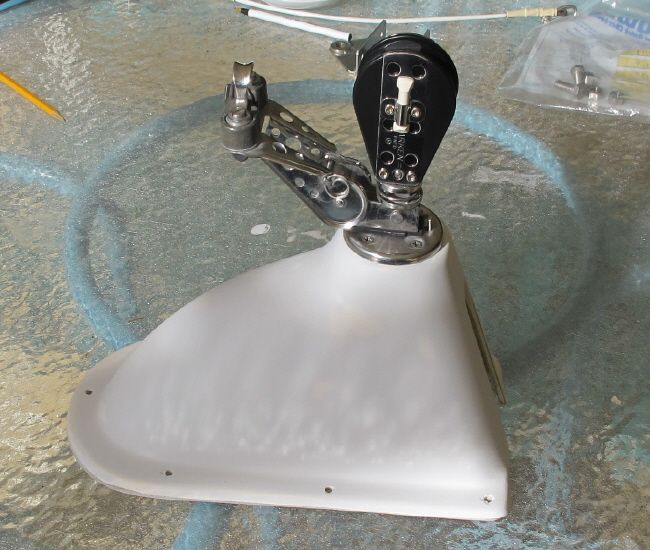
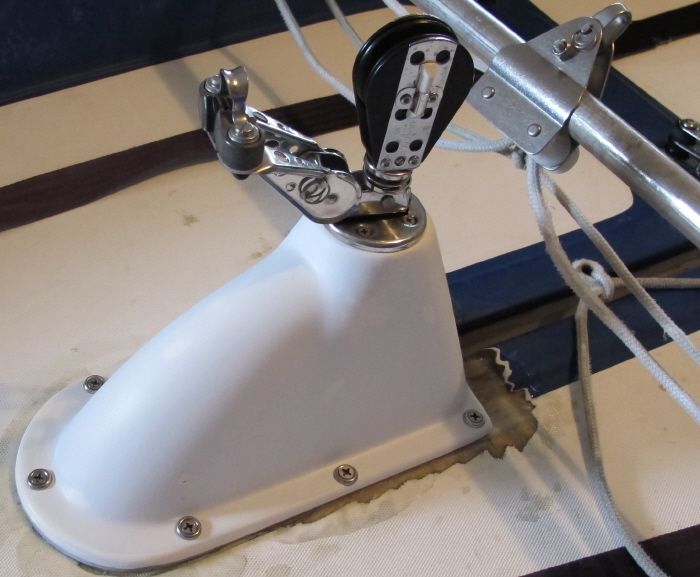
Barney post reassembly: The main sheet system is refastened with a new Harken ratchet block.
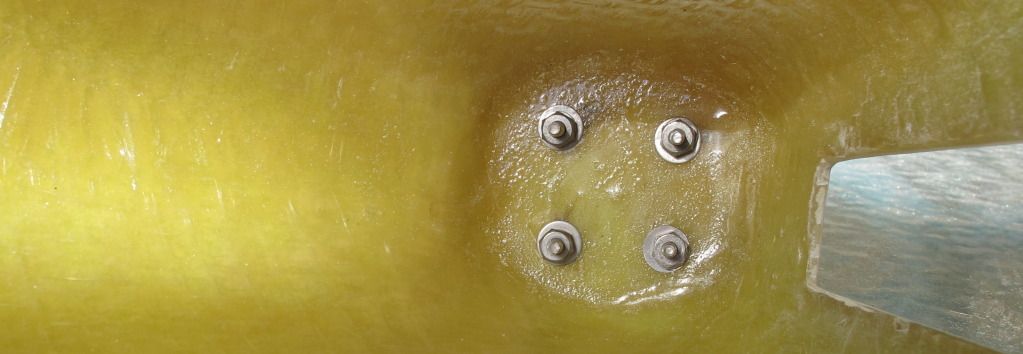
The nut and washer side of the block was uneven (large peaks and valleys formed by the heavy weave of the fiberglass cloth.) Pouring 1/8th inch of epoxy into this "dish," and allowing it to cure flat, made an even surface for the bolts.
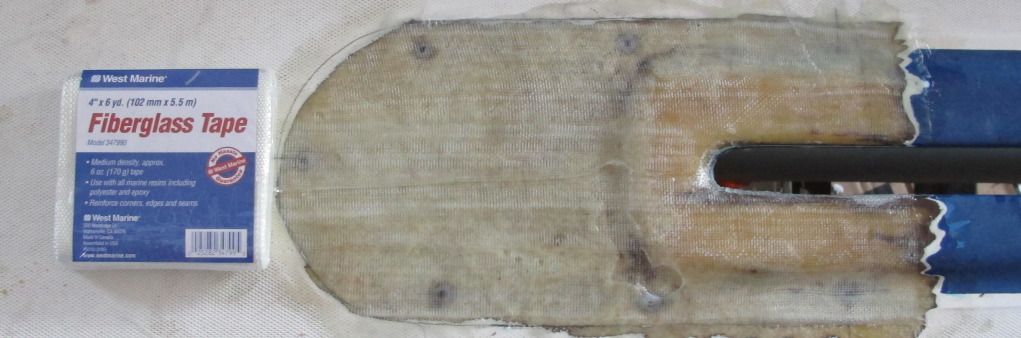
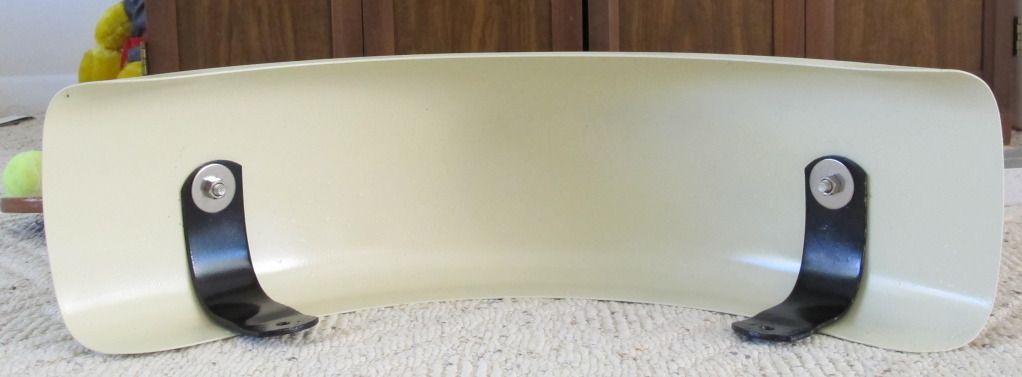
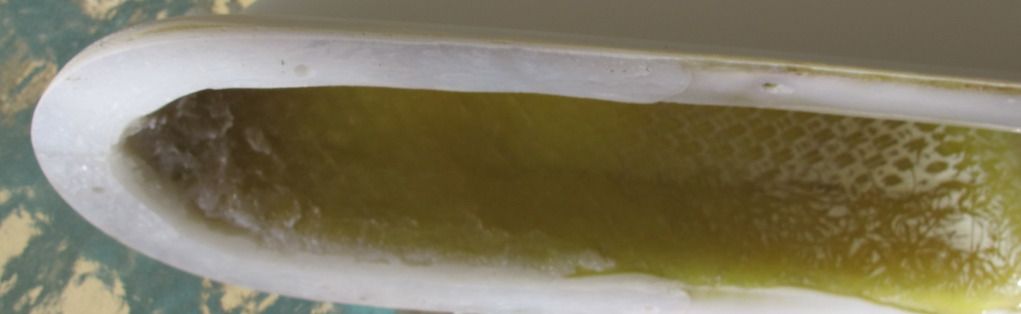
The post has a new foot of epoxy and microfibers. This lower edge is a double radius, if left unfilled, the force of the mounting screws flex the glass and distort it's shape.
The cockpit floor is not flat. Saran wrap, was taped to the cockpit, the foot was filled with epoxy, and the post was allowed to cure in position. Now, the surfaces are matched.
Last edited by TampaBay on Sun Jan 06, 2013 11:37 am, edited 2 times in total.
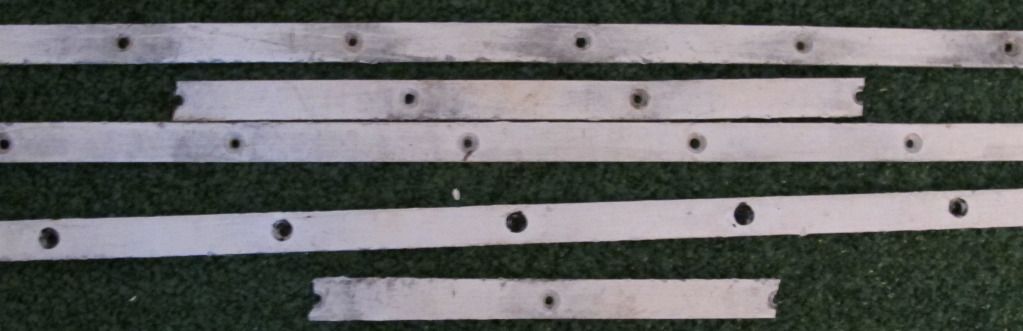
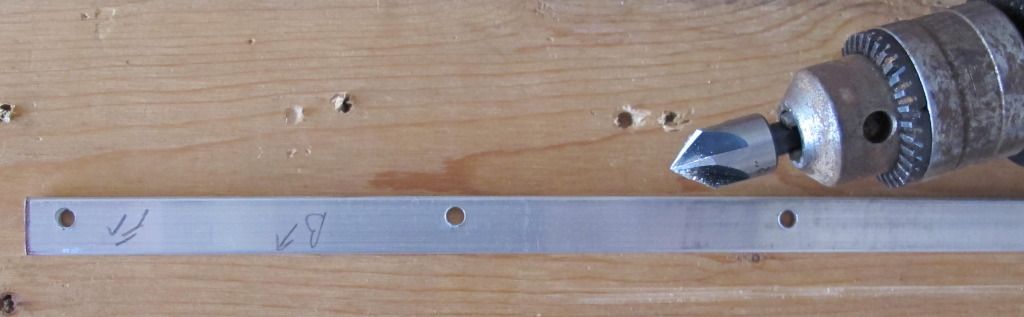
Every screw extends to the inside of the hull, therefor each screw is a potential leak.
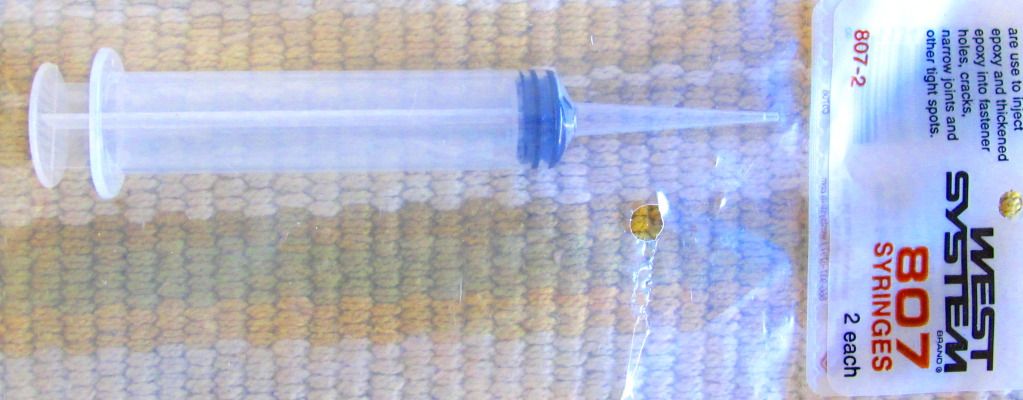
With an epoxy syringe, I coated the inside of the holes and the threads of the screws.
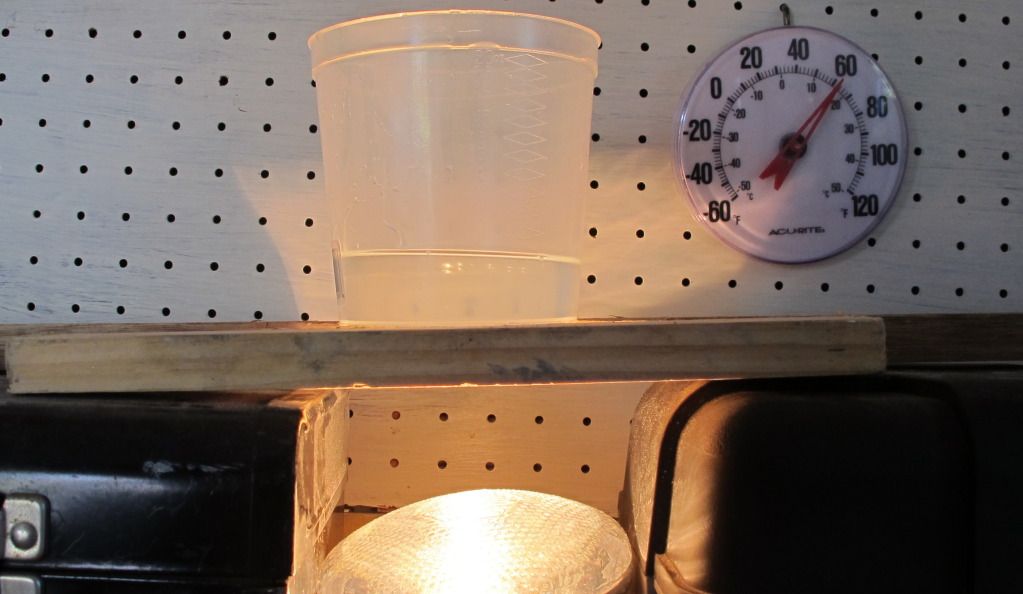
A heat lamp is inside the cockpit, under the centerboard trunk, and the carpet contains the heat. At about 1 o'clock is a thermometer (the bump under the carpet.)
Good temperature for epoxy.
Last edited by TampaBay on Thu Jan 03, 2013 11:40 am, edited 2 times in total.
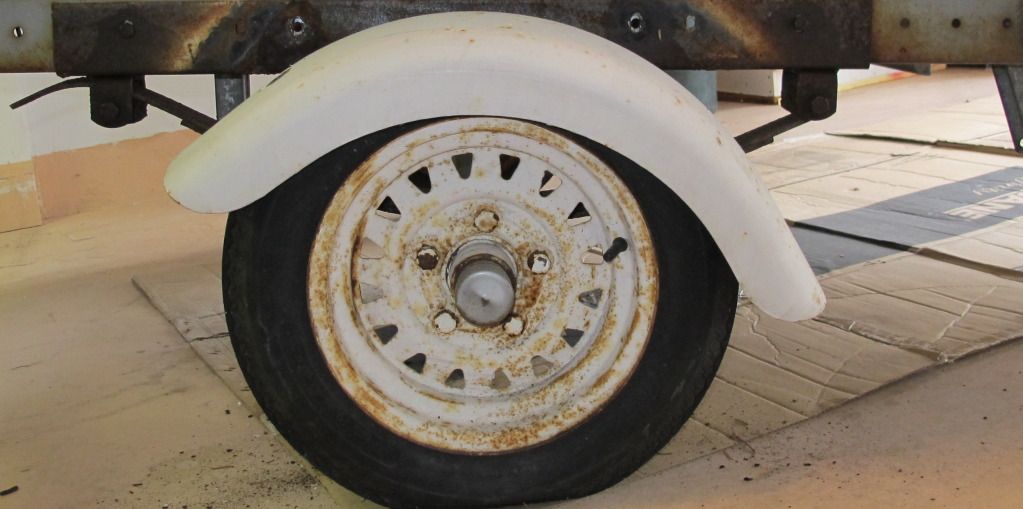
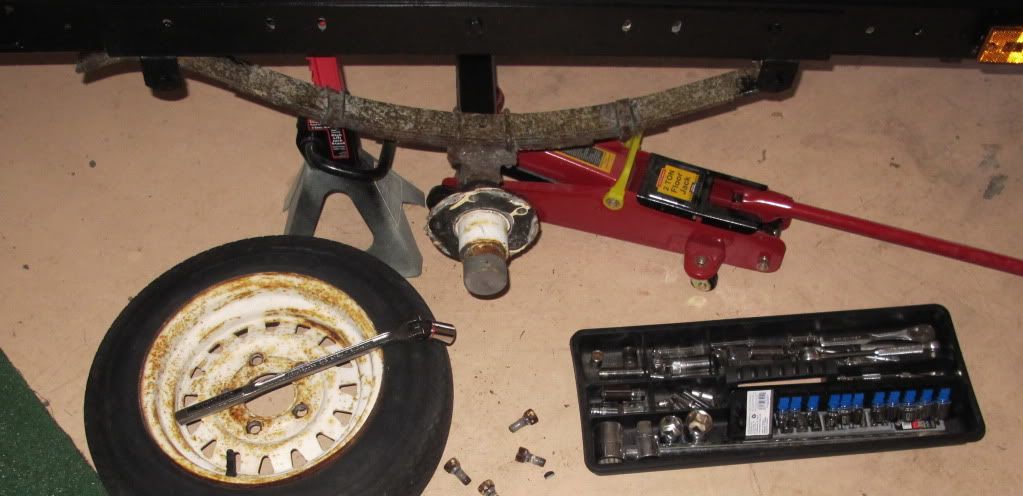
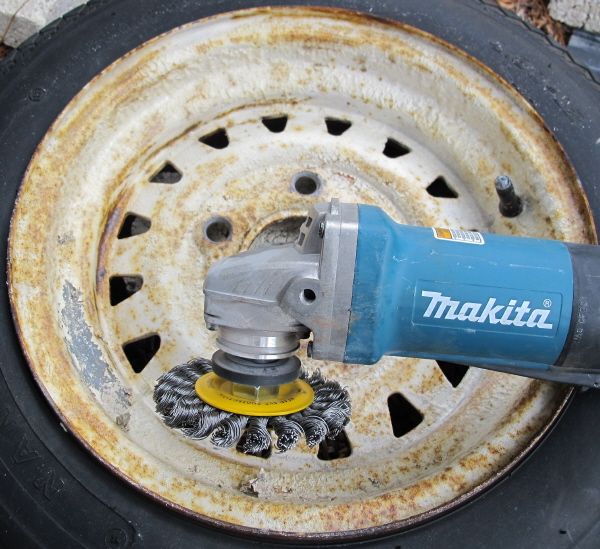
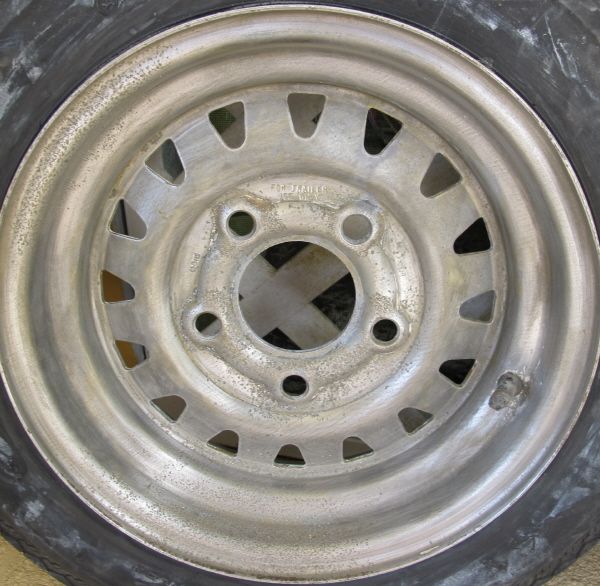
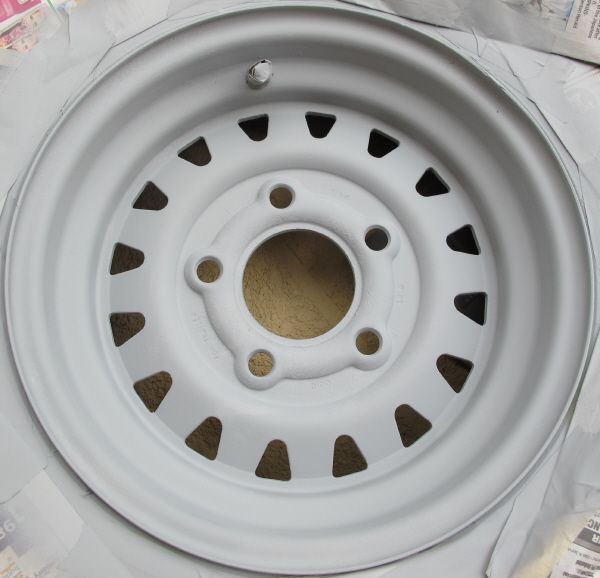
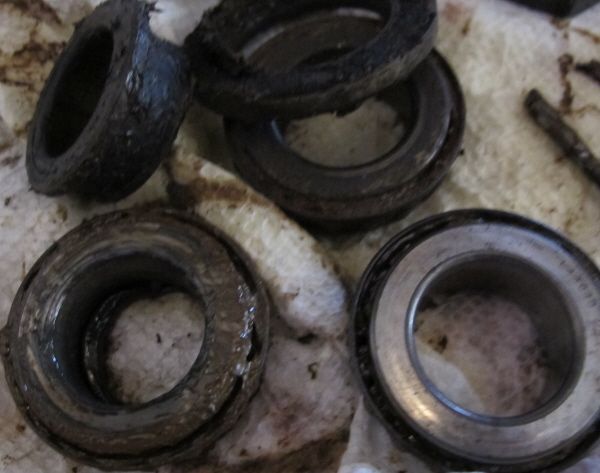
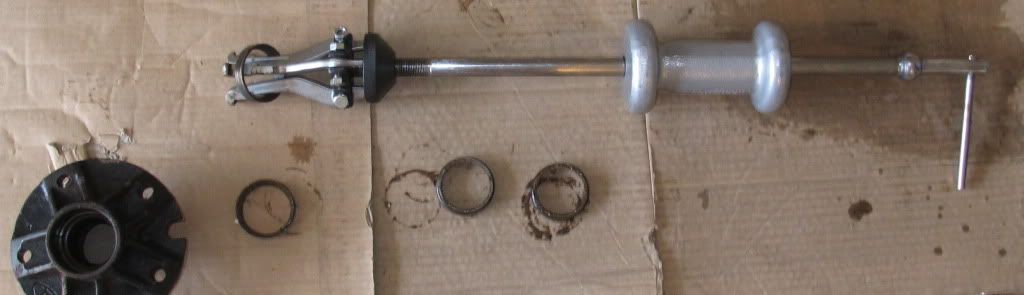
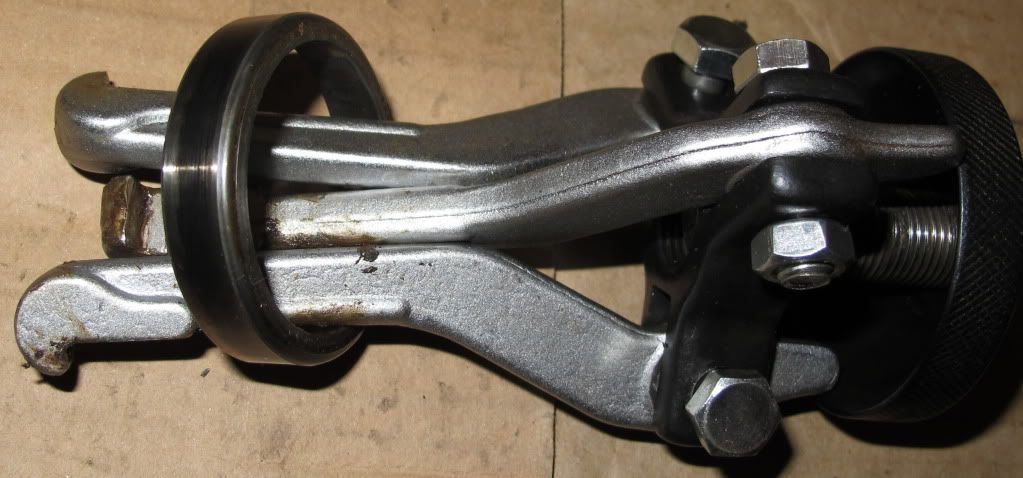
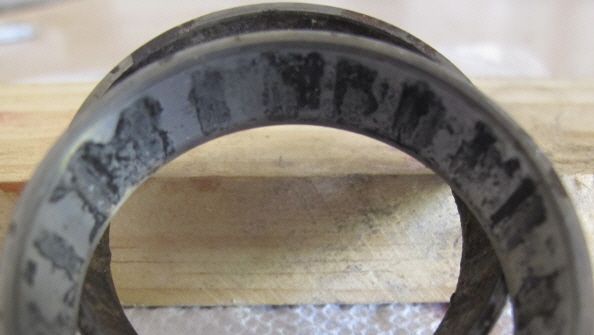
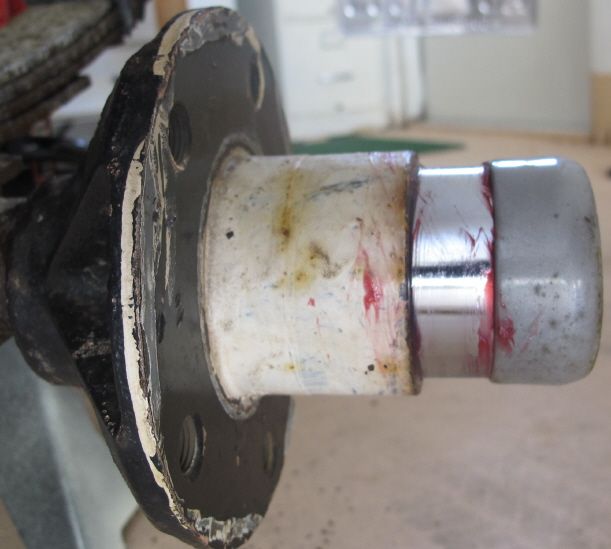
My parent's gave me a Lowes gift card for Christmas, so today I went shopping and bought a 13/16th inch socket (for the wheels bolts,) and a can of silver paint (also for the wheels.)
The last time I sailed, the mast partner was off the boat. That allowed the mast to flex more; and mast flex, flattens the main sail (de-powering it.) So, to increase power, I'm putting the partner back into the boat.
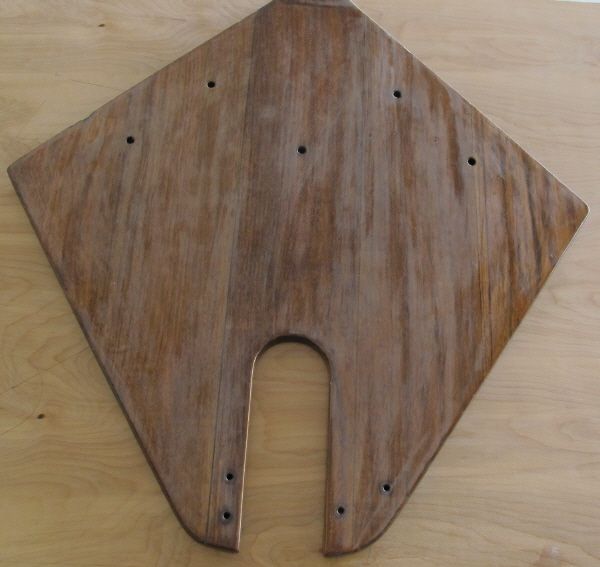
The original is teak. I don't want to see it break, so today I built a replacement from plywood.
I Used this original as a template.It looks scuffed up because it's prepped for varnish.
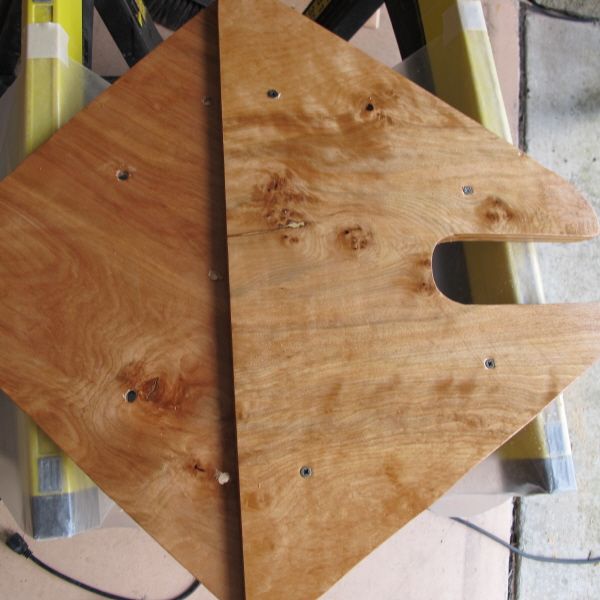
The plywood around the mast slot is doubled.
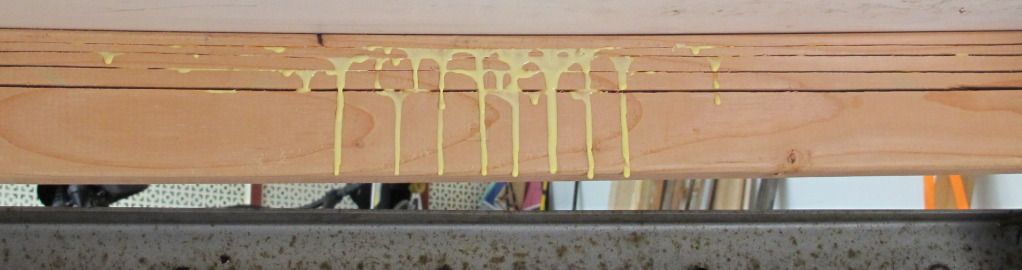
Coated with epoxy, and clamped with 4 screws.
Last edited by TampaBay on Sun Jan 13, 2013 2:52 pm, edited 5 times in total.